Grounded in Growth: Understanding Soil and Repotting
The soil in which your plant grows provides essential support, nutrients, and moisture retention, while also allowing for crucial aeration of the roots. Choosing the right soil mix and knowing when and how to repot are vital for the long-term health and vigor of your houseplants.
Best Soil Types for Different Plants
Not all soils are created equal, and different plant types have evolved to thrive in substrates with varying compositions and properties:
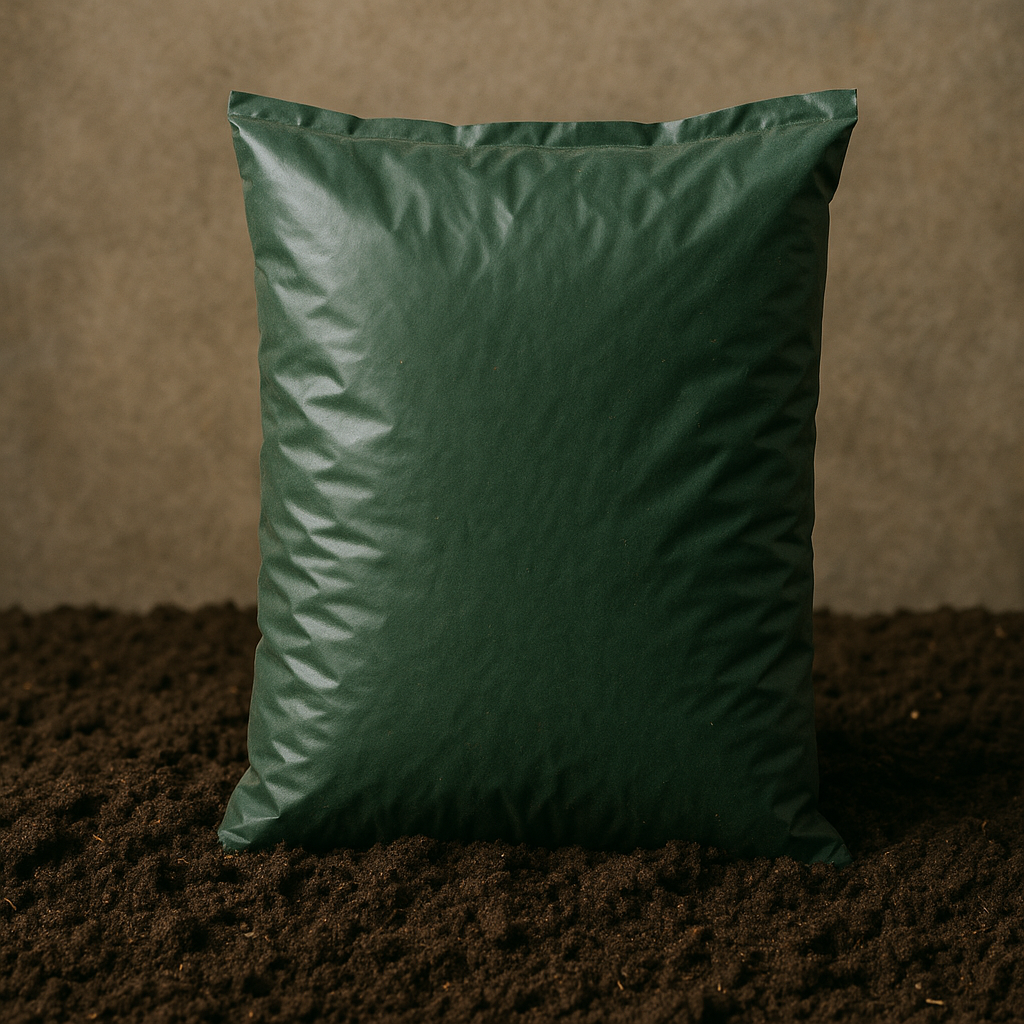
General-Purpose Potting Mix
A blend of peat moss, perlite, and vermiculite, this mix is suitable for many common houseplants. It offers good drainage and moisture retention. However, it can become compacted over time.
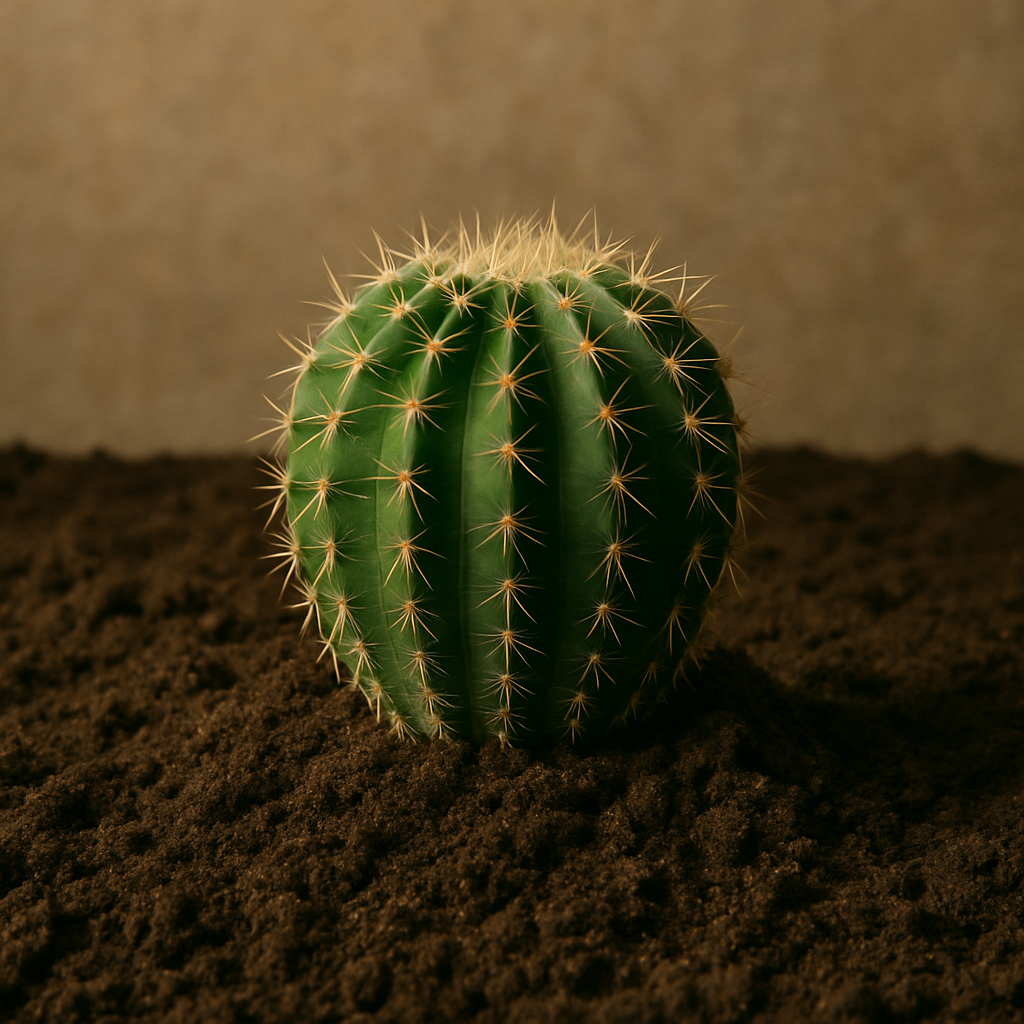
Cactus and Succulent Mix
Formulated for plants that prefer fast-draining soil and don't tolerate excessive moisture. It typically contains a higher proportion of sand, perlite, or pumice.
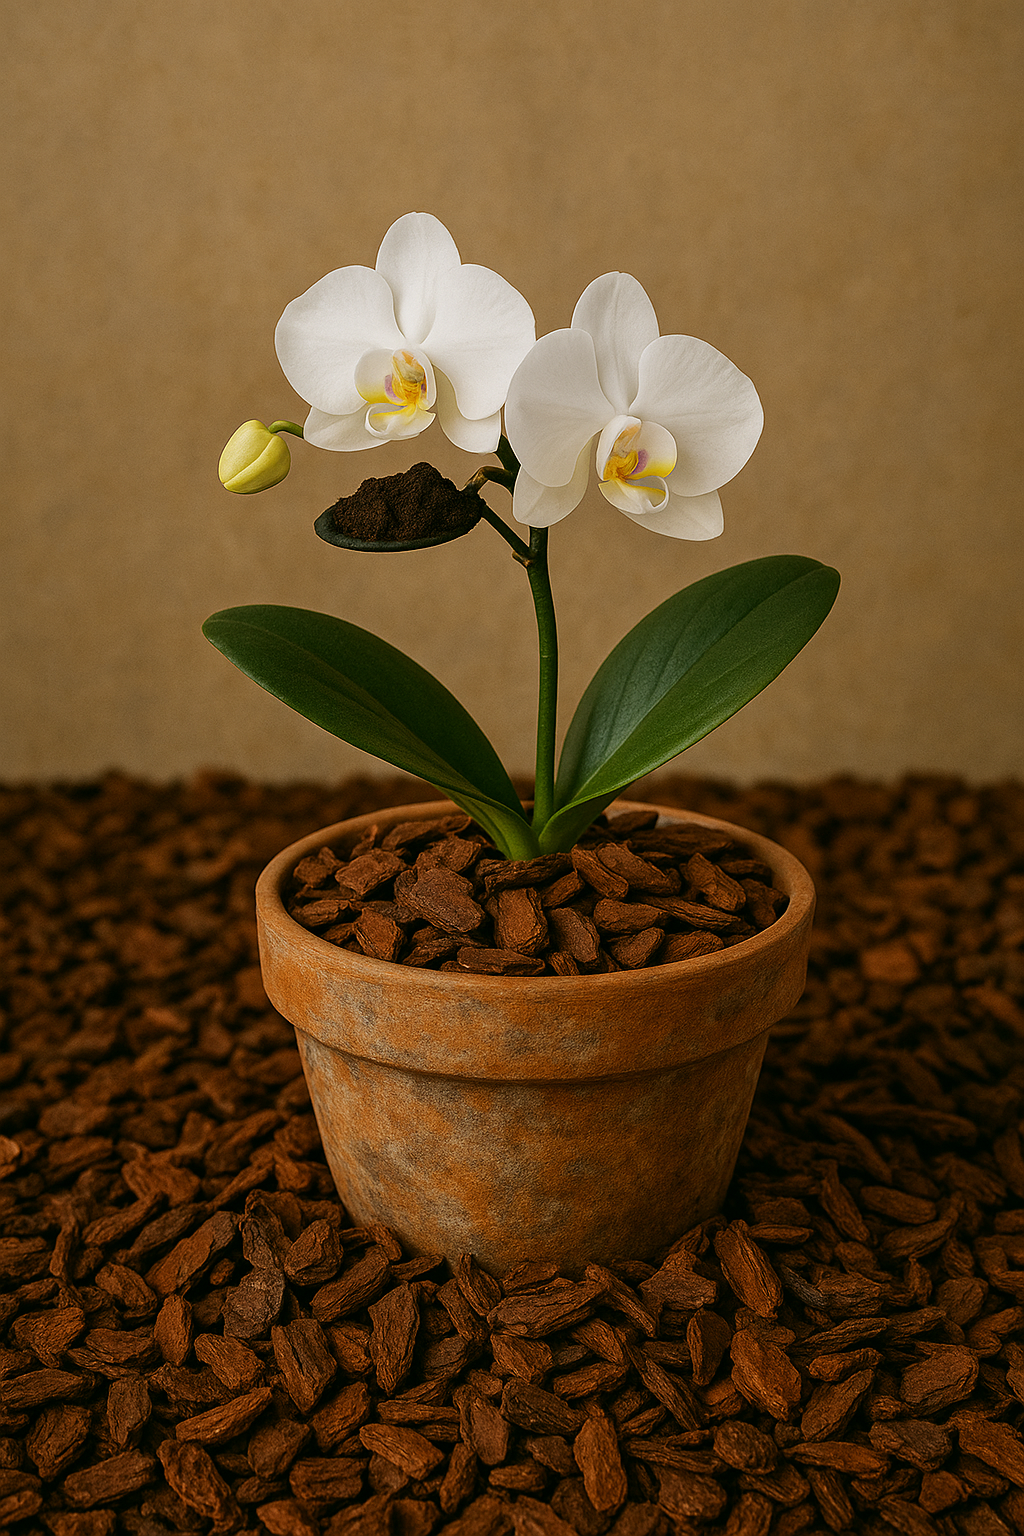
Orchid Bark Mix
Primarily composed of bark chips, this airy mix provides excellent drainage and aeration, essential for epiphytic orchids whose roots need to dry out quickly.
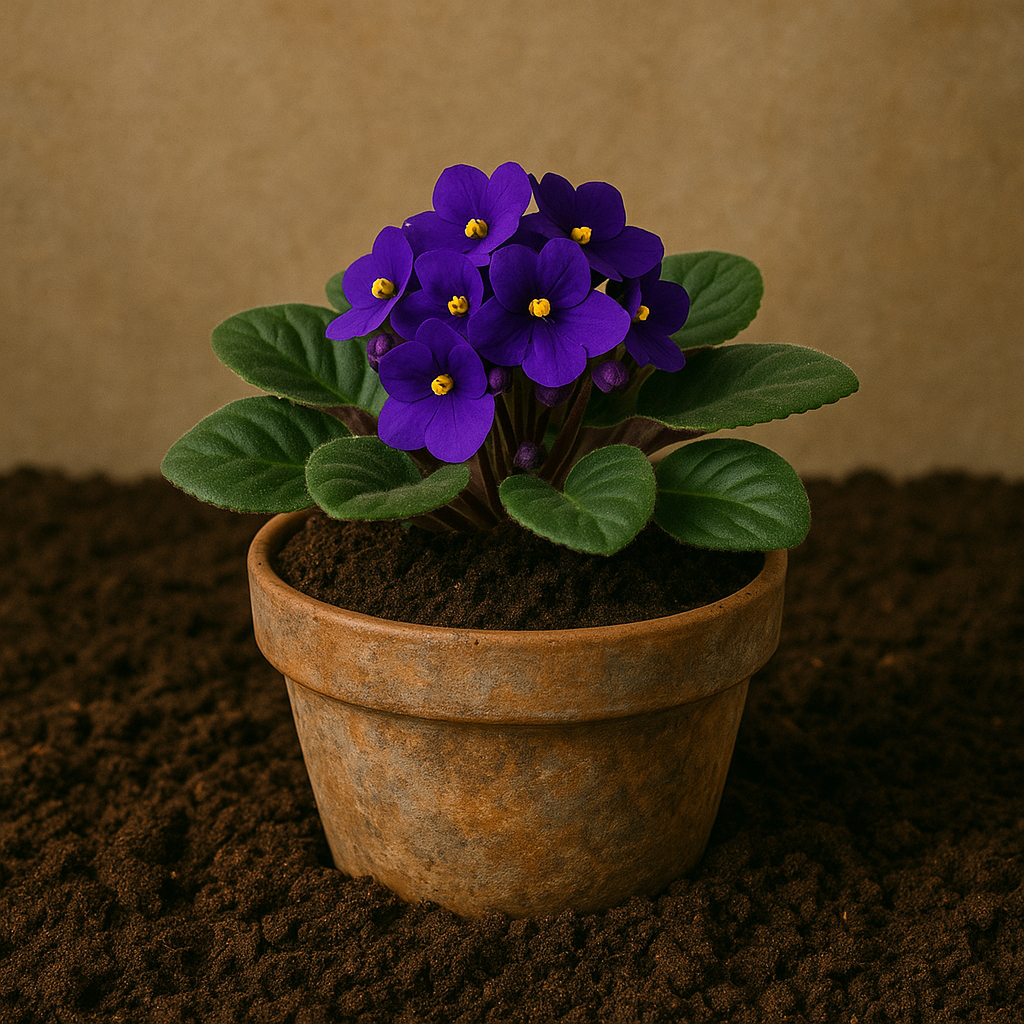
African Violet Mix
A lighter, more porous mix often containing peat moss, perlite, and vermiculite, specifically formulated for the delicate root systems of African Violets.
How to Tell When a Plant Needs Repotting
Repotting provides fresh nutrients and more space for the roots to grow. Here are some telltale signs that your plant might need a new pot:
- Roots Growing Out of the Drainage Holes: This is a clear indication that the plant has outgrown its current container.
- Roots Circling the Inside of the Pot (Root-Bound): When you gently remove the plant from its pot, you might see a dense network of roots tightly circling the root ball.
- Plant Drying Out Very Quickly: The root system may be so dense that it's taking up all the available moisture rapidly.
- Stunted Growth: Even with proper watering and light, the plant may stop growing or produce smaller leaves.
- Top-Heaviness: The plant may become disproportionately large for its pot, making it prone to tipping over.
- Salt and Mineral Buildup on the Soil Surface or Pot Edges: This can indicate that the soil is old and needs replacing.
- The Need to Water More Frequently: As the soil breaks down, its water retention capacity can decrease.
Generally, most houseplants benefit from repotting every 1-2 years, although slow-growing plants may need it less frequently. Spring or early summer, at the start of the growing season, is usually the best time to repot.
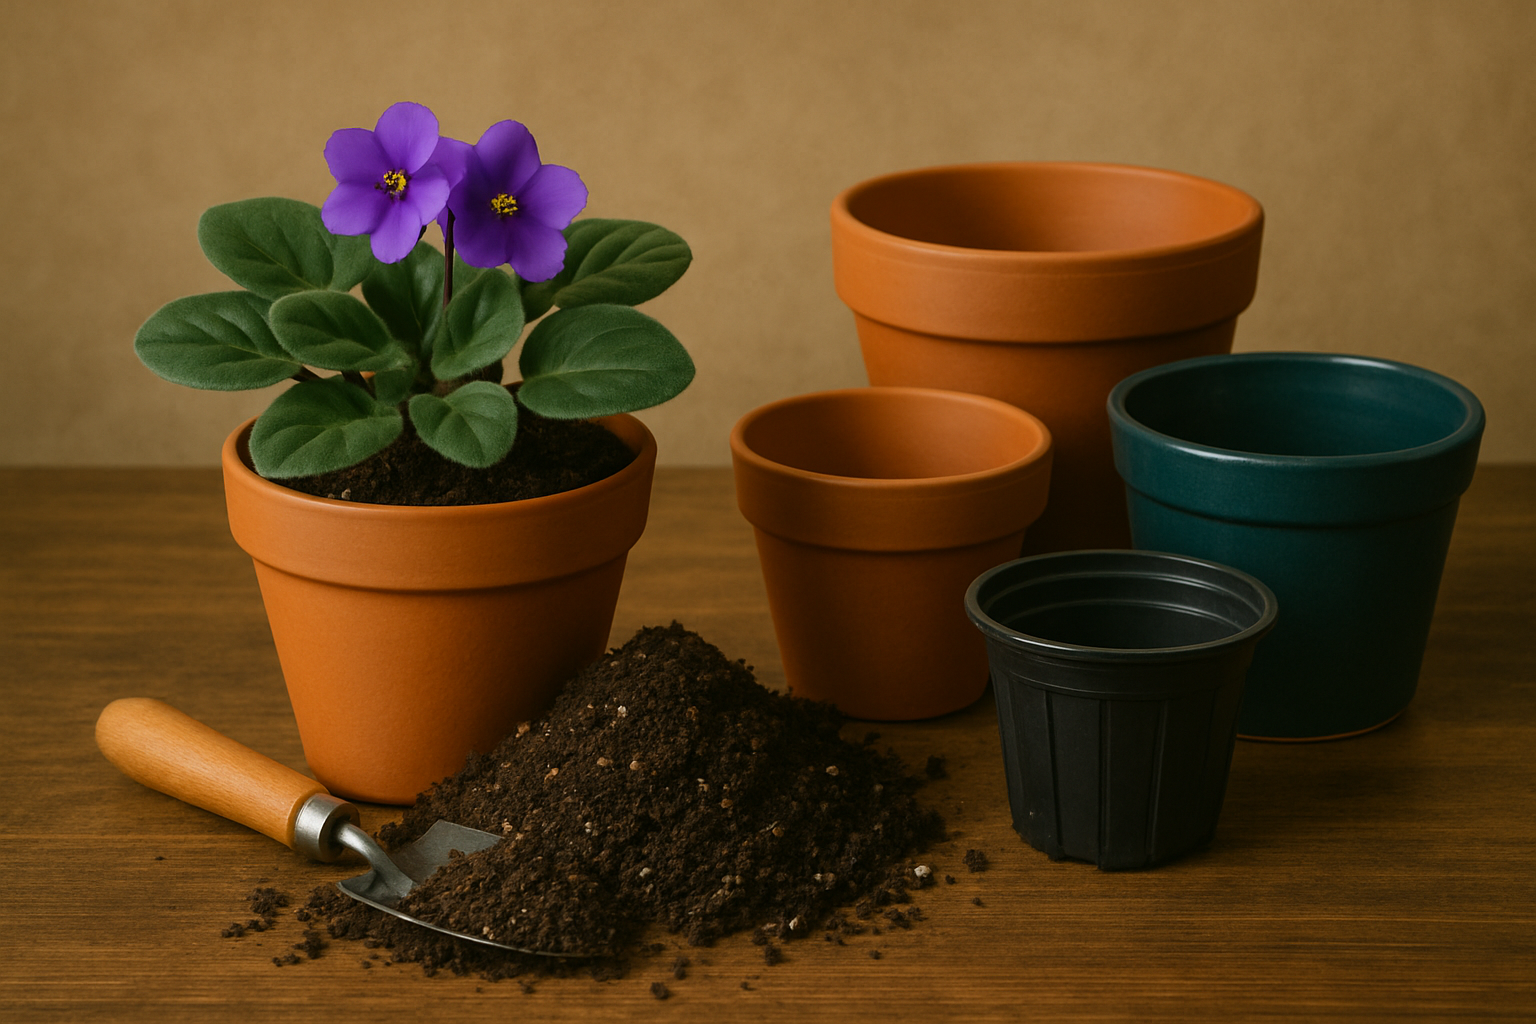
Choosing the Right Pot Size
When repotting, select a pot that is only slightly larger than the current one, typically 1-2 inches wider in diameter. Overpotting (moving to a much larger pot) can lead to excessive moisture retention, increasing the risk of root rot. The new pot should also have drainage holes to allow excess water to escape. Consider the material of the pot as well:
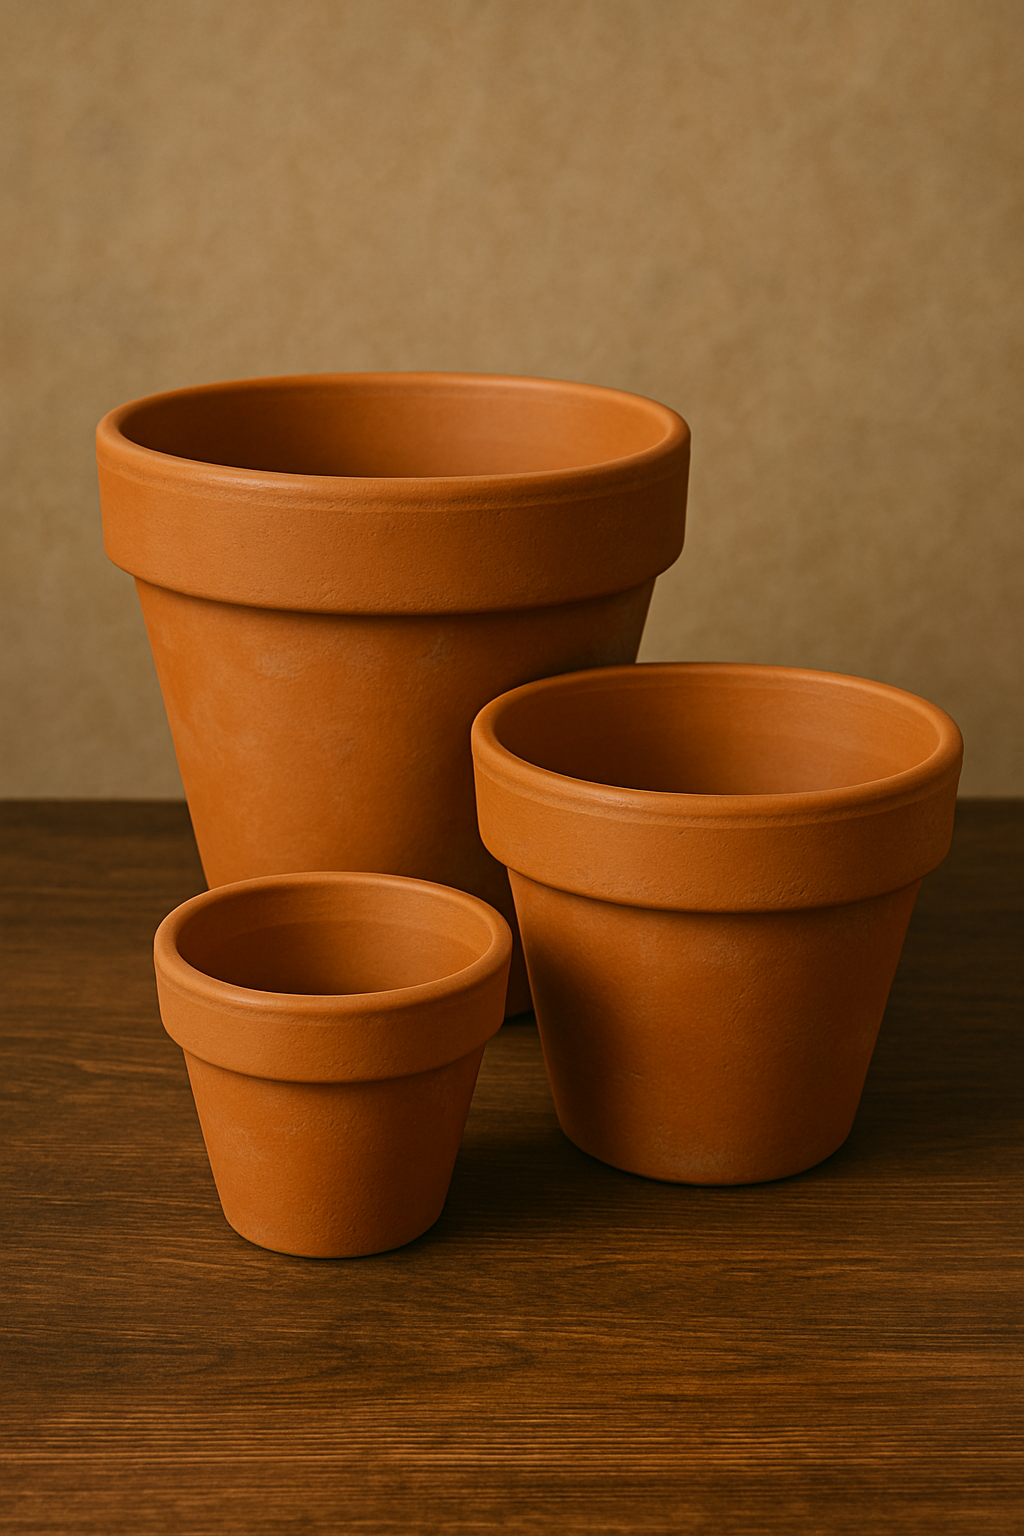
Terracotta Pots
Porous, allowing for good aeration and drainage. They dry out more quickly, which can be beneficial for plants prone to overwatering.
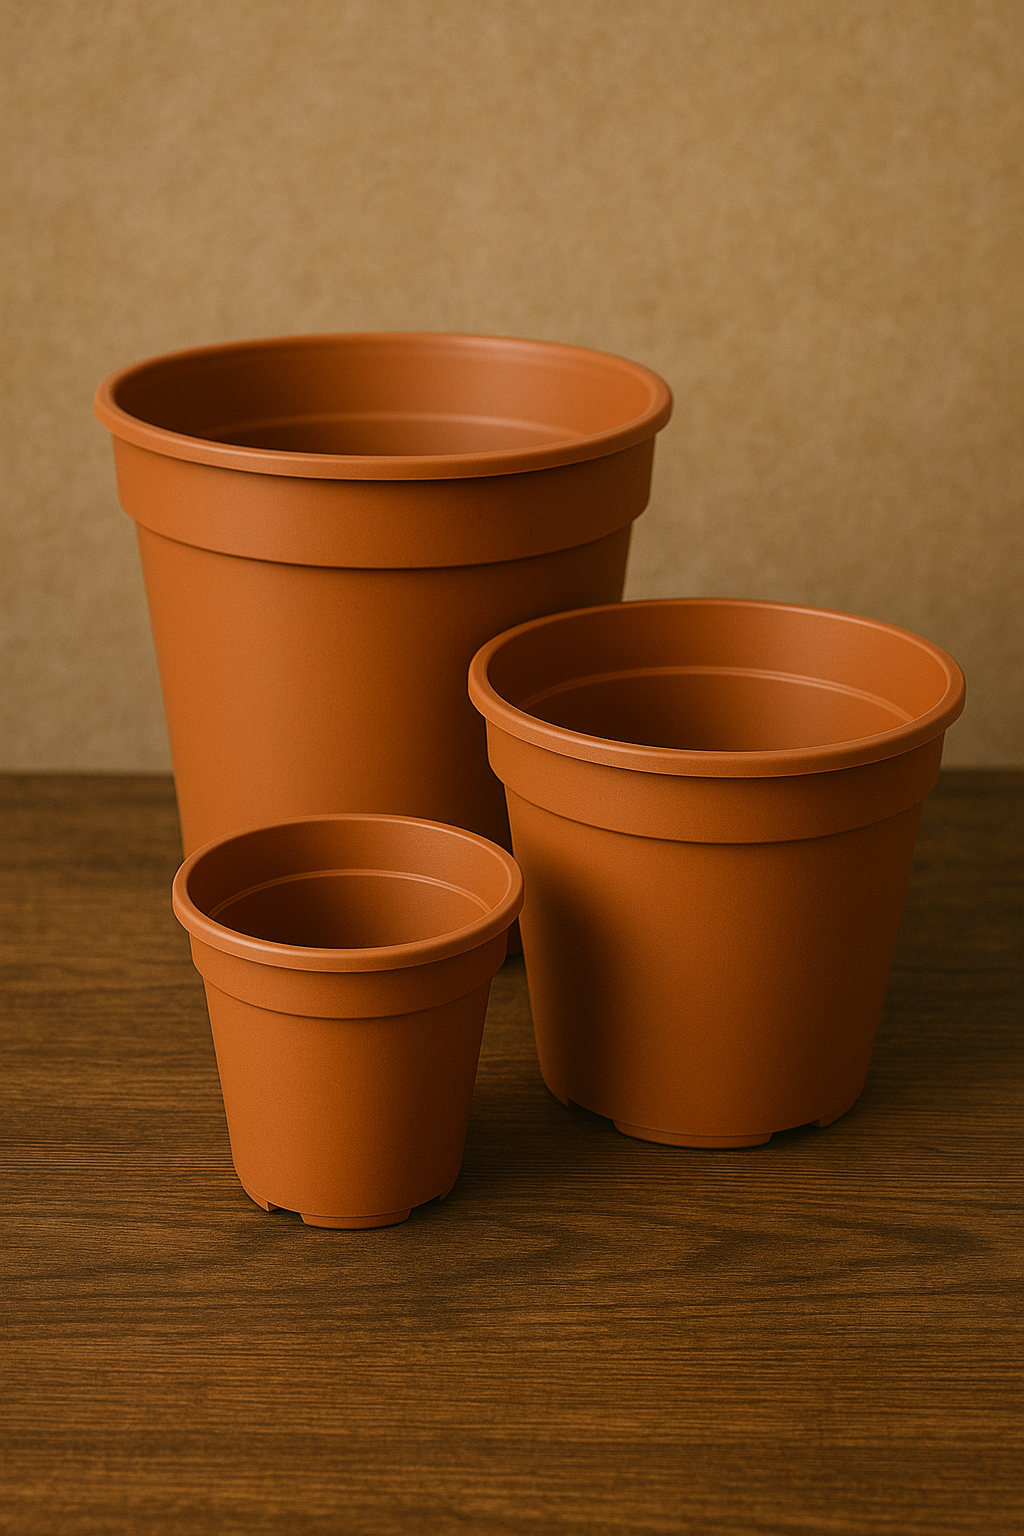
Plastic Pots
Retain moisture longer and are lightweight. They are a good option for plants that prefer consistently moist soil.
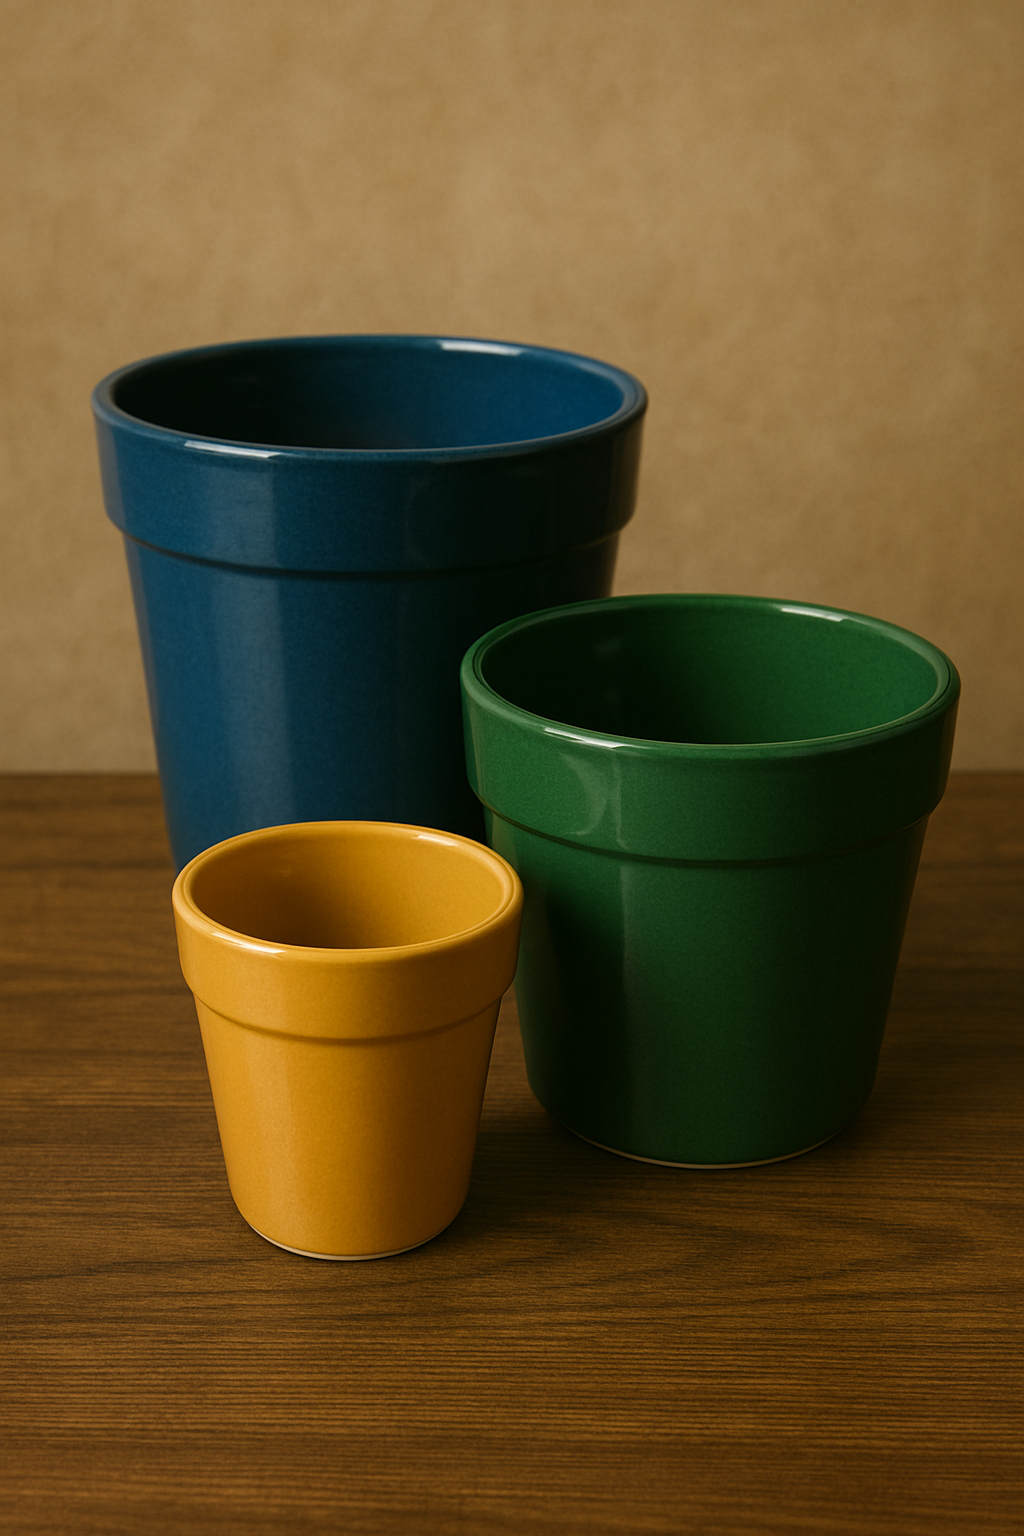
Glazed Ceramic Pots
Less porous than terracotta but can be aesthetically pleasing. Ensure they have adequate drainage.
How to Repot a Plant Without Damaging It
Repotting can be a bit stressful for plants, so handle them with care:
- Prepare the New Pot: Add a layer of fresh potting mix to the bottom of the new pot. The amount will depend on the size of the root ball.
- Gently Remove the Plant: Tip the old pot sideways and gently slide the plant out. You may need to tap the bottom of the pot to loosen the root ball. If the roots are stuck, carefully run a thin knife or trowel around the inside edge of the pot.
- Inspect the Roots: Gently tease apart any circling roots. If the plant is severely root-bound, you may need to make a few vertical slices along the root ball to encourage outward growth. Remove any dead or mushy roots.
- Position the Plant: Place the root ball in the center of the new pot, ensuring that the top of the root ball is at the same level as it was in the old pot.
- Fill with Fresh Soil: Gradually add fresh potting mix around the root ball, gently pressing down to eliminate air pockets. Leave about an inch of space between the soil surface and the rim of the pot for watering.
- Water Thoroughly: Water the newly repotted plant thoroughly until water drains from the bottom of the pot. This helps settle the soil around the roots.
- Provide Appropriate Care: Place the repotted plant in a location with suitable light and avoid fertilizing for a few weeks to allow the roots to adjust to their new environment.
By understanding the importance of soil composition and mastering the art of repotting, you can provide a healthy foundation for your plants to thrive and grow.
